Objective: Use the process of dying fabrics to illustrate chemical reactions, equilibrium, chemical bonding, and pH.
Pre-lab Questions:
1.) Where did the art of dying fibers originate?
The art of dying fibers originated from India or China.
The type of substances that were used to dye were parts of plants such as the bark, berries, flowers, leaves, and roots.The art of dying fibers originated from India or China.

 |
| Bark |
 |
| Flowers |
 |
| Leaves |
 |
| Roots |

4.) What chemical interaction is occurring when fibers are dyed?
The chemical interaction that is occurring when fibers are dyed is ionic bonding.
History of Dyeing Fabrics:
The art of dyeing clothing fibers originated in India or China no later than 2500 B.C. Most natural dyes came from parts of plants such as the bark, berries, flowers, leaves, and roots. In 1856, William Henry Perkin began the synthetic organic chemical industry by accidentally discovering the purple dye, mauveine, when he tried to produce quinine from aniline. About 100 years after Perkin’s first discovery, fiber-reactive dyes capable of forming covalent linkages with the fiber were discovered.
Chemistry of Dyeing Fabrics:
Some dyes only stain the cloth, and wash out a little each time the cloth is laundered. High Quality dyes (fiber-active dyes) actually chemically (covalent) bond to the molecules of the fabric and can never be washed out. The dye molecules carry a “chromophore”, which absorb varying spectrums of light, allowing only certain spectrums to reflect.
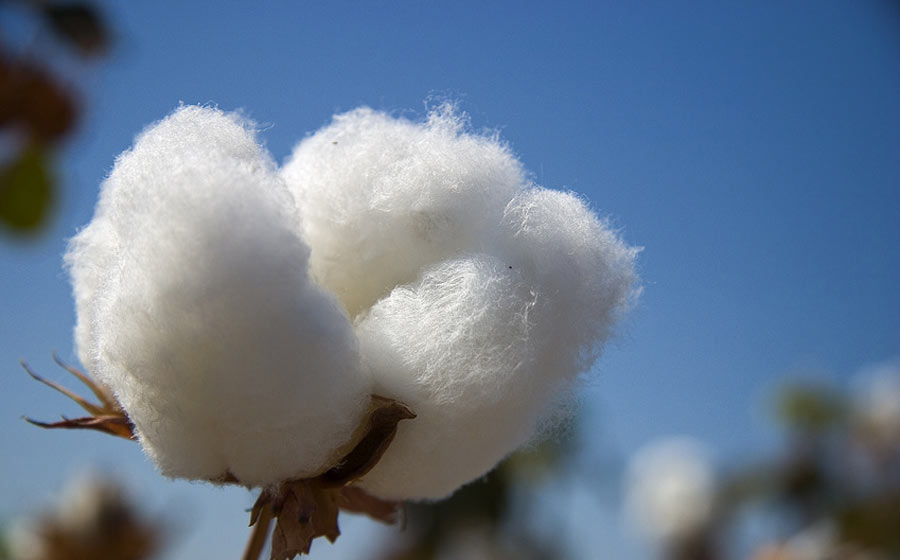
Cotton is made of long strands of cellulose molecules, all twisted together. Cotton is ideal for dying because the fibers are naturally hollow, and the dye molecules will form bonds on both the inside and outside of the fiber. If you put molecules of dye and cotton together, very little will happen until the atoms on the surfaces of the molecules are prepared for bonding.
This can be done by either increasing the temperature or the pH of the fiber and dye. In this lab, we will do the latter, increasing the pH by soaking the fabric in calcium carbonate, which causes the releases a H atom from the cellulose molecule. The removal of the H atom leaves the cellulose molecule with some atoms that do not have stable octets. As a result, the dye can bond to the cellulose molecule at the site of the removed H atom.
After the dye is applied, it is allowed to react in a desirable host environment for up to 24 hours. After this time, the bonding sites on the cellulose should be saturated with dye molecules. Excess dye molecules that have not bonded permanently are washed away using warm water rinse and a dye-carrying detergent.
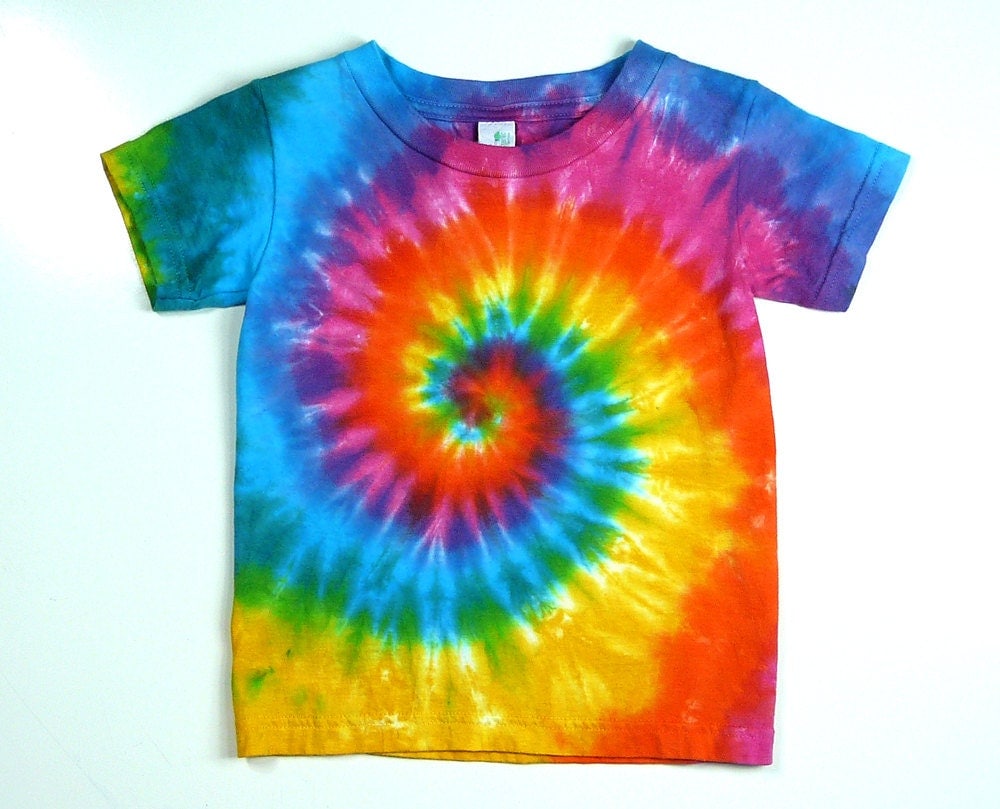 |
| The design that I will be using is the spiral (: |
Lab Safety Rules:


3.) Don't get sloppy or squirt others with the dye solutions.
 |
| Listen to the picture! |

Procedure: The point of tie dying is to prevent the dye from reaching the fabric evenly. Any place the dye can’t reach will stay white, or a lighter color. You can accomplish this by folding the fabric, tying it with string, using rubber bands
Step 1: With a permanent marker, write your name on the cloth you will be tie dying. There will be many other shirts in the lab during this activity; be sure yours is marked to avoid losing it.
Step 2: Soak your cloth in the hot water for about 5 minutes. Be sure you put it in the tub marked for your period.
 |
| soaking shirt in water |
 |
| Ha! Or cat if you prefer. |
 |
| Wring water out! Make sure to wear gloves! |
 |
| Grab the shirt by the middle and twirl is around until you get what is below: |
 |
| Next grab your handy rubber bands aaaaaaannnnnd: |
 |
| You should have something like this (: |
 |
Go crazy! ;D |
 |
| You can use any bag |
Step 6: After the cloth soaks for at least 24 hours, open the bag, remove the item, and rinse it several times with warm water, before removing strings or rubber bands. Once it is rinsing clean, remove the ties and rinse several times again until it is rinsing clean. At this point, you can hang it to dry or place it in another bag to take home and wash.
After the shirt is dyed:
Step 7: The first time you wash it, place it alone in the washing machine with just a small squirt of dishwashing liquid like Dawn or Joy. Do not use laundry detergent.
 |
| DAAAAAWWWWN! |
1.) Write down a synopsis of what occurred before the dyeing of the shirt.
The synopsis of what occurred before dying the shirt was that we dipped it in warm water.
2.) Explain the process used to dye your shirt - pattern, tying method.
The process I used to dye my shirt was first after dunking the shirt in warm water I drained it. Next I grabbed the middle of the shirt and started to twirl it into a circle (A picture of it is in step 3). Finally I wrapped it with 4-5 rubber bands.
The pattern of the shirt did not come out the way that I wanted it to come out... I did not put enough dye do it was mostly white.

So I decided... (which was probably a dumb idea) to dye it again!
Final product:
 |
| It looks like someone rolled it around in dirt... oh well. |
Post Lab Questions:
1.) If you dyed a rainbow spiral on a shirt and then soaked it in a black dye bath, the result would be a black shirt with a rainbow spiral pattern. Why doesn’t the entire shirt dye black?
It does not dye the entire shirt black because the bonds of the other colors cannot be broken by the black dye.
It does not dye the entire shirt black because the bonds of the other colors cannot be broken by the black dye.
2. What is the purpose of soaking the shirts in the hot water for 5 minutes?
The purpose of soaking the shirts in hot water for 5 minutes is to increase pH levels.
3. Why is 100% cotton the best type of cloth to use with fiber reactive dyes?
100% cotton is the best type of cloth to use with fiber reactive dyes because the dyes would not be washed and it makes the colors pop out.
4. What are some advantages of fiber reactive dyes?
The advantages of fiber reactive dyes are that they last longer and they're really bright.
5. Explain how ionic bonding is used to dye the shirts in this lab.
Ionic bonding is used to dye the shirts in this lab because the hot water broke the bonds. Also the dye changed the charge which allowed it to stick to the shirt.
Citation: (they are all underneath the pictures)
Background: https://36.media.tumblr.com/d1c07ec6672f8c9cdba9d5d5e0a1274c/tumblr_mxepn3zVsc1qmeyooo1_r1_500.jpg
 |
| Sorry I had too... Good luck!! |
No comments:
Post a Comment